Tech Workshop 2 - Garden Planner
Garden Planner is an app for laying out your garden, considering many gardening good practices and providing an appealing 3D view.
1. Introduction
Step 1
Click on 'Garden Planner' from the desktop, and open 'New Plan'. Choose 'Metric (m)' for measurement unit.

Step 2
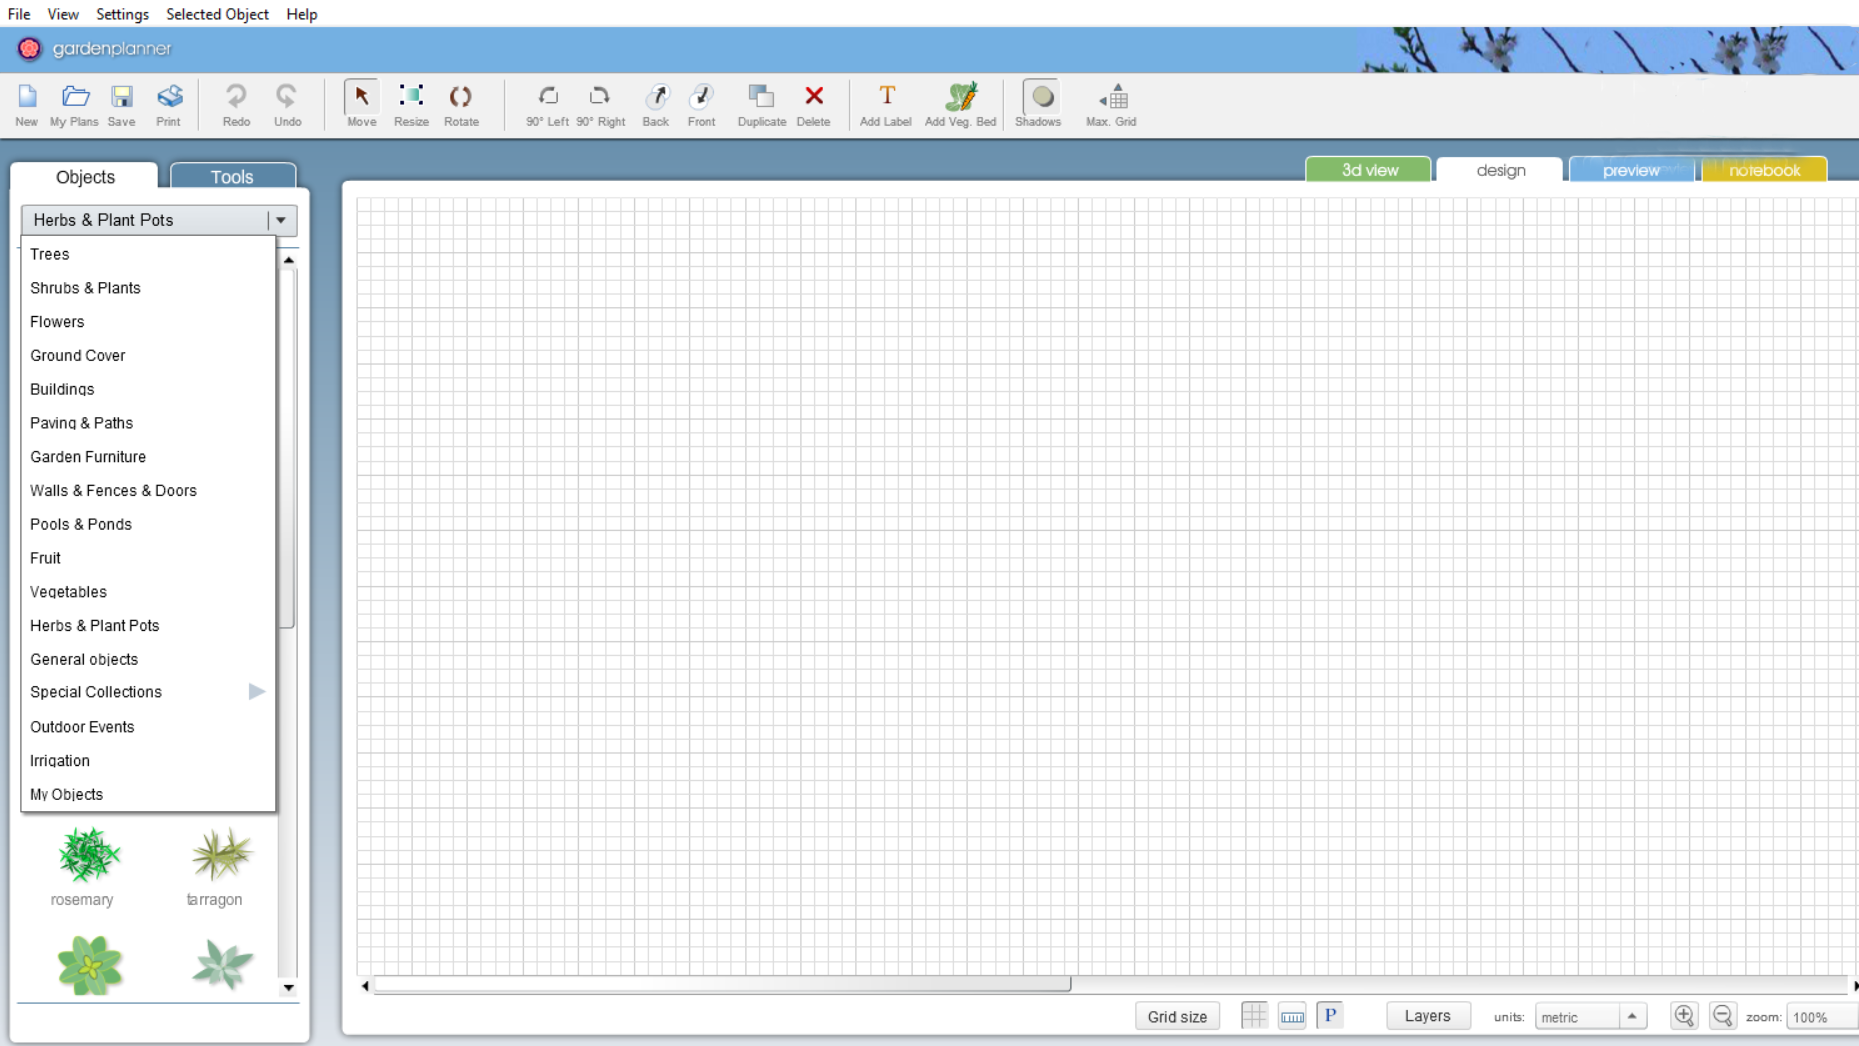
The main window of 'Garden Planner' shows the area where you can build your farm. You can drag and drop various objects from the left panel to place in your farm.

Step 3
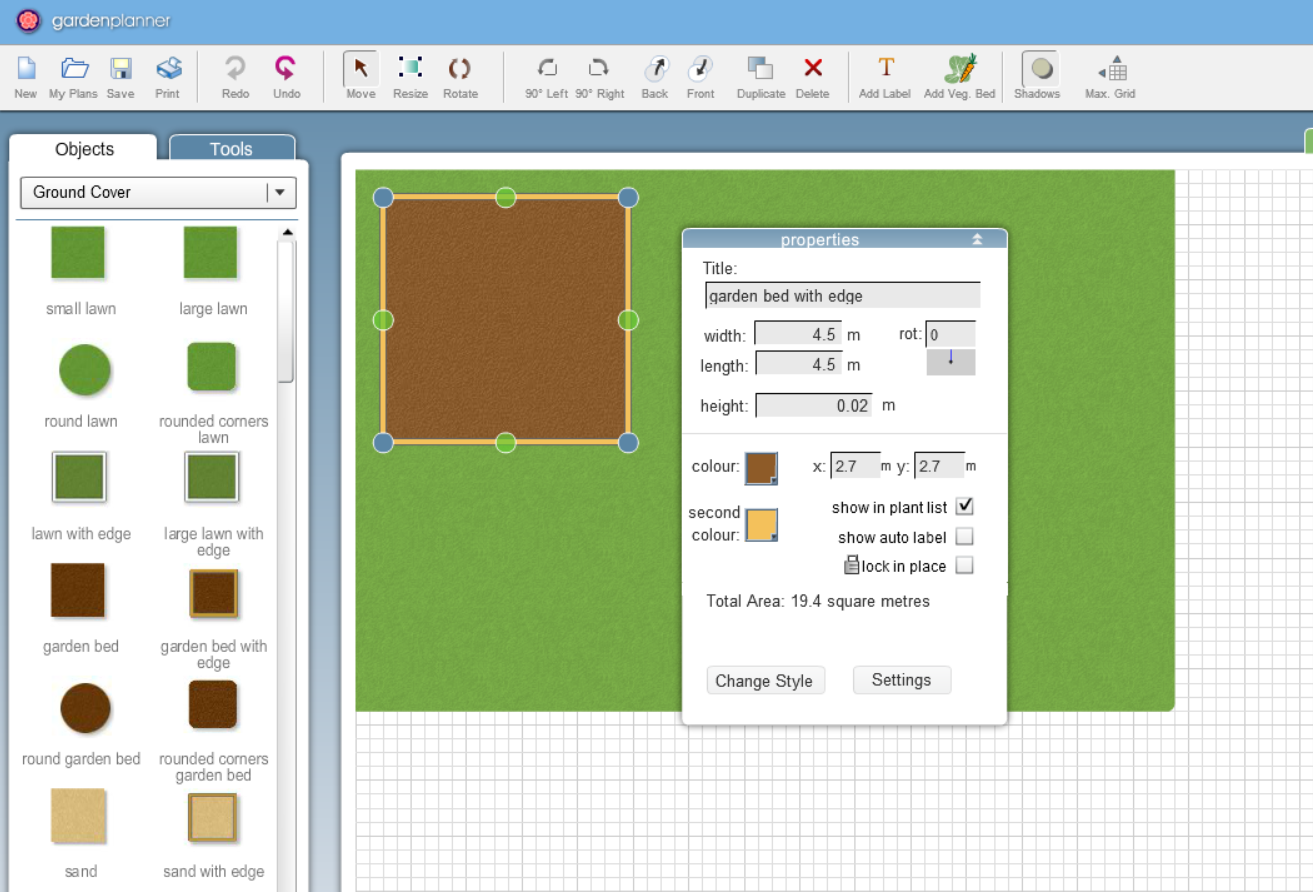
Design a farm by dragging and dropping tiles from the side menu onto your site. At this stage you are exploring how the software works, so try to include lots of different plants, paths, walls, buildings, etc.
Don't worry about making it look perfect at first, but do try to include a range of different types of plants and other objects in your farm (at least 20).

Step 4
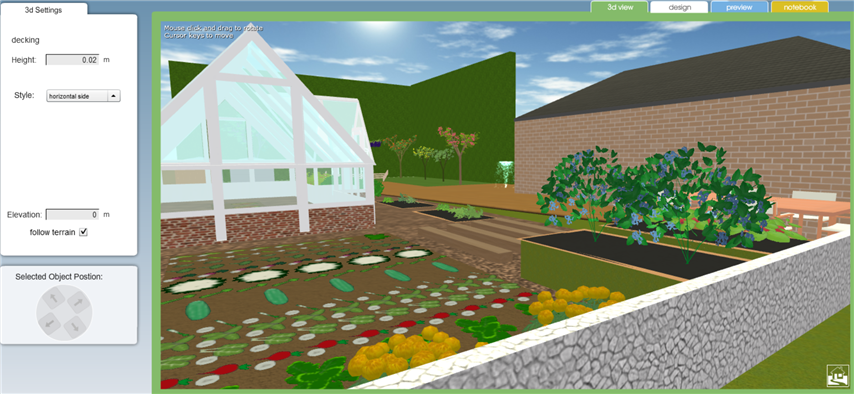
Click on the 3d view tab to see how your farm looks in 3D. You can use your arrow keys and mouse to move through your farm in a virtual 3D walk through.
To return to the standard 2D view click on the design tab above the main window.
NOTE: If you can't see the 3d view tab above the main graphic window, click on Help menu -> Show 3D view.

Step 5
Consider your choice of crops and their arrangement. Here are some tips for farm design:
https://www.mysmartgarden.org.au/Resources/Food/Design-an-edible-garden
